Hi, I'm Cho Yin.
AI Engineering Leader, University Lecturer, and Entrepreneur at Heart.
My career is driven by a deep curiosity for navigating technological change and a commitment to helping others thrive within it. This has led me to unique opportunities in both industry and academia. At Verto Health, I was responsible for guiding a team of over 20 developers, fostering their growth while delivering on complex projects. This passion for teaching and mentorship was recognized by the University of Toronto, where I hold the distinction of being the youngest sessional lecturer promoted in the CMS department. My technical work, focused on practical applications of artificial intelligence, has resulted in two co-authored patents and two competitive AI awards.
Showcase
A curated collection of projects and awards that showcase innovation, impact, and thought leadership.

lotsotravel.com
eSIM Convenience Store

Youth Mental Health Narratives
Discovering novel variables for NVDRS data
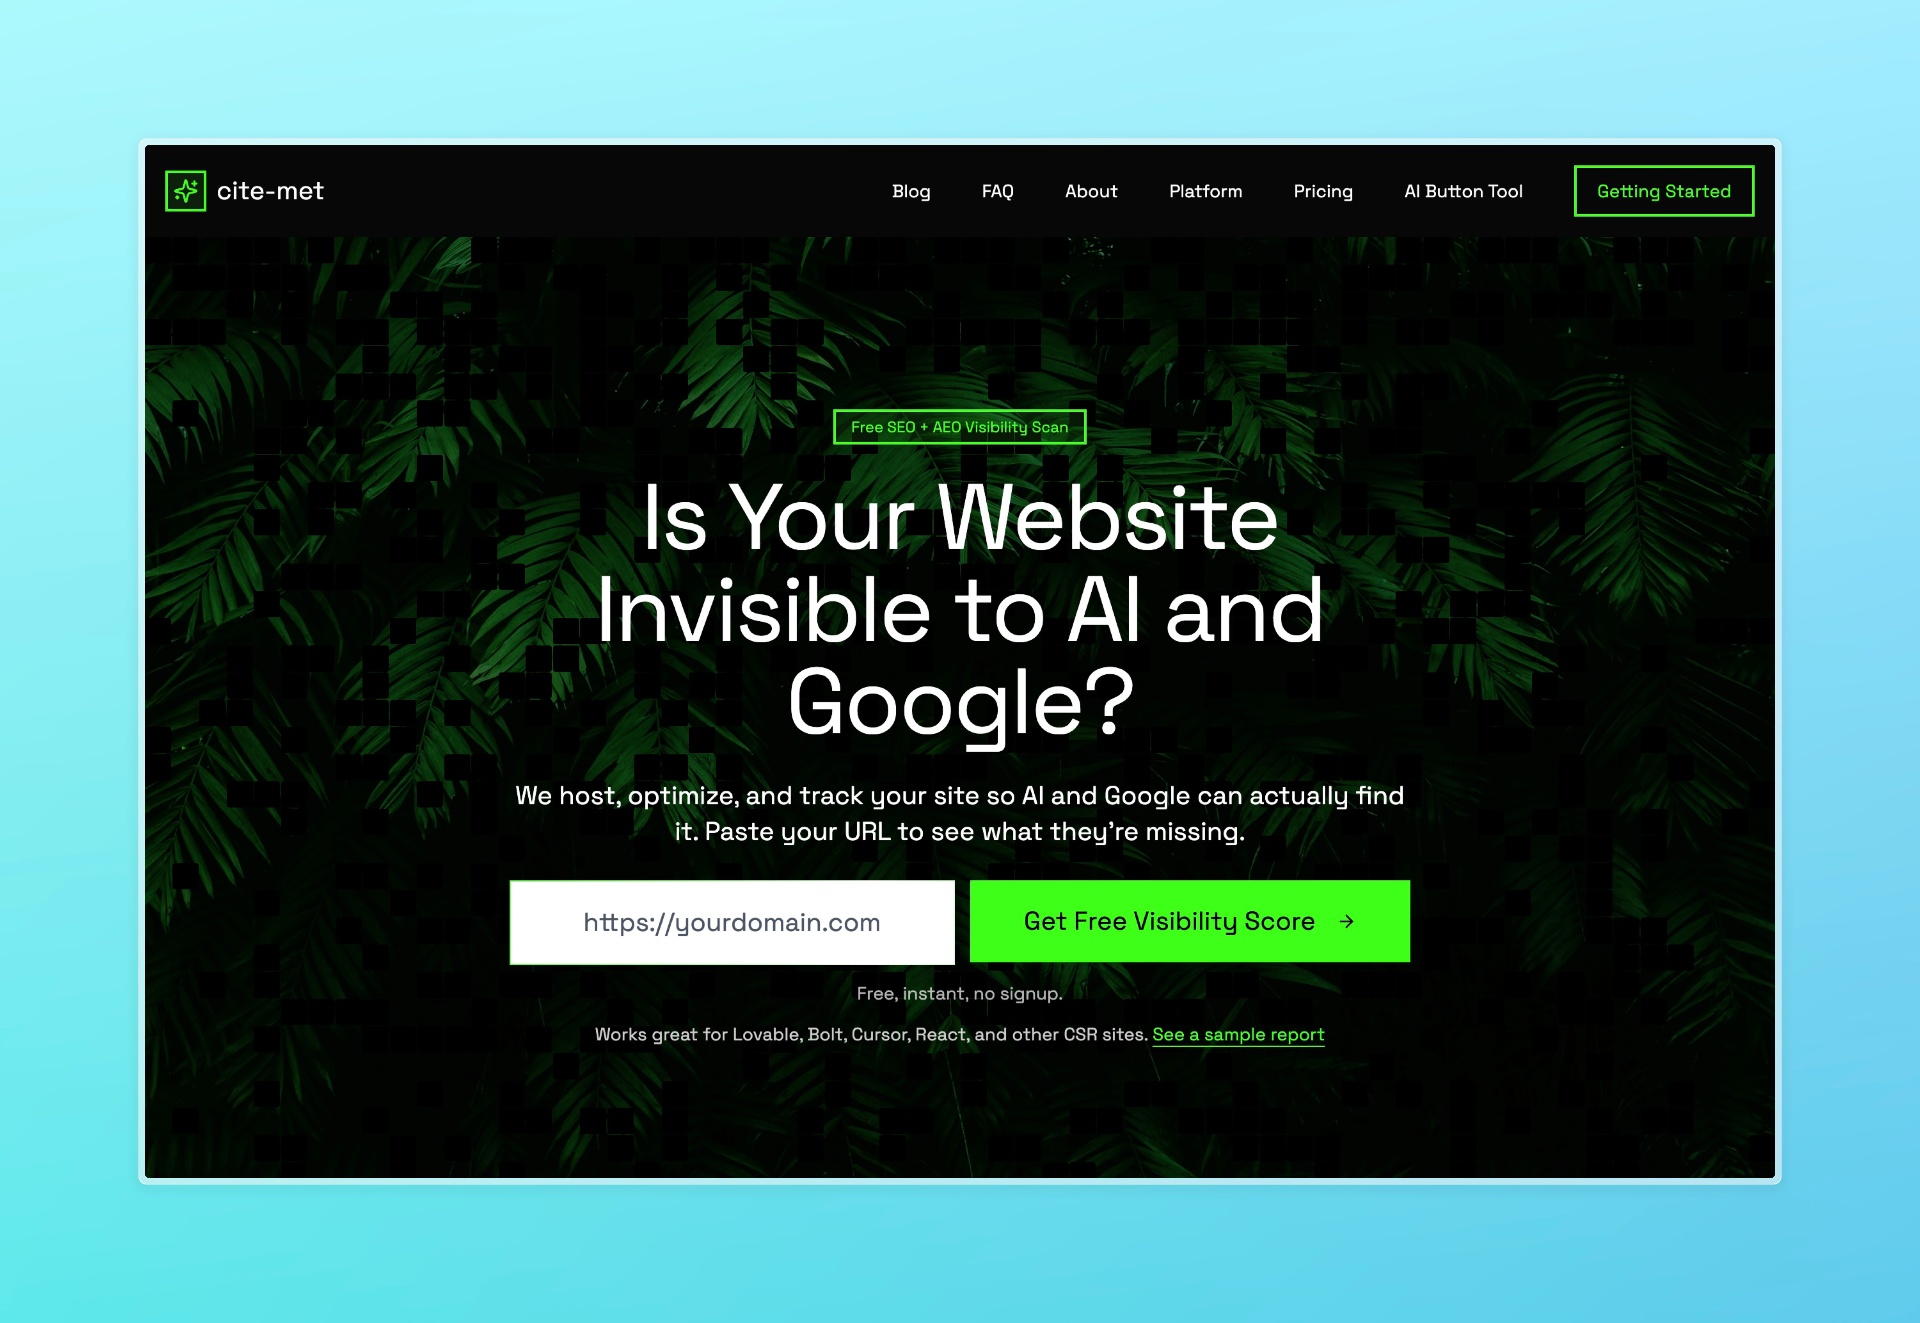
cite-met
SEO & AEO visibility for vibecoded sites
Teaching
Sharing knowledge and shaping the next generation of software engineers at the University of Toronto.
Engineering Large Software Systems
CSCD01
Software Engineering Part 2 - software architecture building blocks, non functional requirements and system design. University of Toronto.
Programming on the Web
CSCC09
Building scalable and maintainable full stack applications with modern web technologies. University of Toronto.